Introduction:
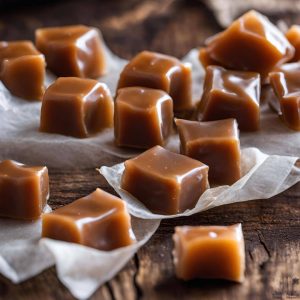
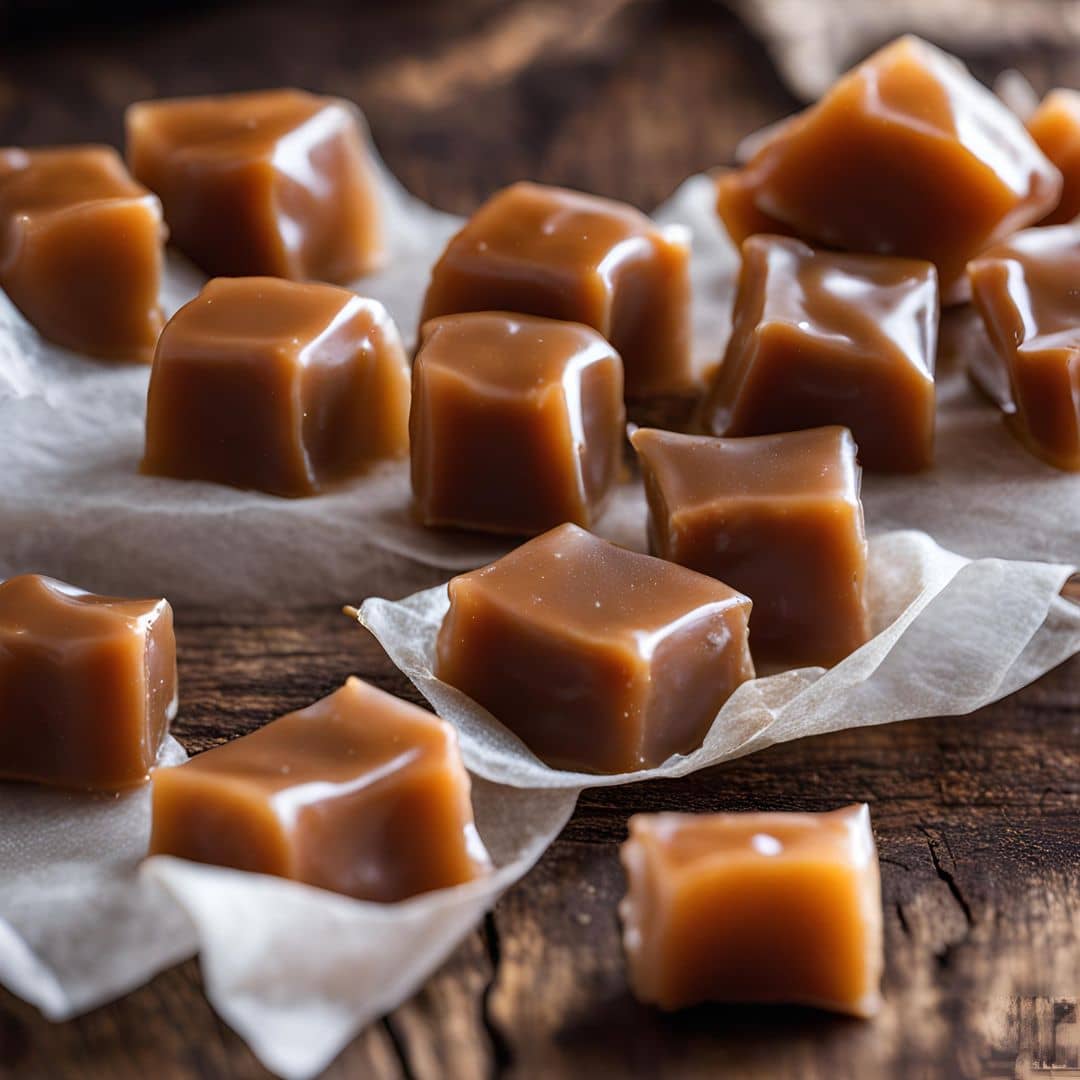
Indulge in the sweet, melt-in-your-mouth goodness of Soft, Buttery Homemade Caramels! This classic recipe is perfect for any occasion, whether you’re looking to impress guests, give thoughtful gifts, or simply treat yourself. With their rich flavor and soft texture, these caramels are sure to become a cherished favorite.
Inspiration Behind the Recipe:
Homemade caramels have long been a beloved treat, evoking nostalgic memories of family gatherings and holiday celebrations. This recipe simplifies the traditional method, allowing you to enjoy the delightful flavors of buttery caramels from the comfort of your own kitchen.
Ingredients Breakdown:
- For the Caramels:
- 1 cup unsalted butter (2 sticks)
- 2 cups granulated sugar
- 1 cup light corn syrup
- 1 can (14 oz) sweetened condensed milk
- 1 teaspoon vanilla extract
- 1/2 teaspoon salt
- Optional Toppings:
- Sea salt for sprinkling
- Chopped nuts for added texture
Step-by-Step Recipe:
- Prepare the Pan:
- Line an 8×8-inch square baking pan with parchment paper, allowing some overhang for easy removal later. Lightly grease the parchment paper with cooking spray.
- Melt the Butter:
- In a large heavy-bottomed saucepan, melt the butter over medium heat.
- Combine Ingredients:
- Once the butter has melted, add the granulated sugar, corn syrup, and salt. Stir the mixture until combined.
- Cook the Caramel:
- Slowly add the sweetened condensed milk while stirring continuously. Attach a candy thermometer to the side of the pan and continue to cook the mixture over medium heat, stirring constantly to prevent burning. Cook until the temperature reaches 240°F (soft ball stage).
- Add Vanilla:
- Once the desired temperature is reached, remove the saucepan from heat and carefully stir in the vanilla extract.
- Pour and Cool:
- Pour the hot caramel into the prepared baking pan, spreading it evenly. If desired, sprinkle with sea salt or top with chopped nuts. Allow the caramels to cool at room temperature for at least 4 hours or until fully set.
- Cut and Wrap:
- Once cooled, use the parchment paper overhang to lift the caramels out of the pan. Cut them into squares or rectangles with a sharp knife. Wrap each caramel in wax paper or cellophane for storage.
Tips for the Perfect Soft Caramels:
- Use a Candy Thermometer: Ensure accurate temperature readings to achieve the perfect consistency.
- Stir Constantly: Constant stirring helps prevent the caramel from burning and ensures even cooking.
- Cool Completely: Allow the caramels to cool fully before cutting to maintain their soft texture.
Variations and Customizations:
- Chocolate-Dipped Caramels: Dip cooled caramels in melted chocolate for a delicious treat.
- Flavored Caramels: Add a few drops of flavored extracts, like almond or hazelnut, for a unique twist.
- Spiced Caramels: Incorporate spices like cinnamon or nutmeg for a warm, seasonal flavor.
Health Considerations and Nutritional Value:
- Treat in Moderation: While these caramels are a delicious indulgence, they are high in sugar and calories, so enjoy them sparingly.
- Rich in Flavor: The buttery goodness of these caramels means a little goes a long way in satisfying your sweet tooth.
FAQ:
- Can I make these in advance?
Yes! Homemade caramels can be made up to two weeks in advance and stored in an airtight container. - How should I store them?
Store wrapped caramels at room temperature or in the refrigerator for a firmer texture. - Can I freeze these caramels?
Yes! You can freeze cut caramels for up to three months. Just ensure they’re well-wrapped to prevent freezer burn.

Soft, Buttery Homemade Caramels
Ingredients
- 4 cups sugar
- 2 sticks butter 1 cup
- 2 cups white corn syrup
- 1 teaspoon kosher salt
- 2 12 oz cans evaporated milk
Instructions
Prepare the Pan:
- Line a 9×13-inch pan with parchment paper and set aside.
Melt the Ingredients:
- In a large, heavy-bottomed pot, melt the sugar, butter, corn syrup, and salt over medium heat. Stir occasionally to combine. A stainless steel pot works best for even heat distribution.
Add the Evaporated Milk:
- Once the mixture comes to a boil, add the evaporated milk slowly, about 1 tablespoon at a time. This process will take about 10-15 minutes per can, and you must stir constantly to avoid burning.
Cook to the Right Temperature:
- After all the milk has been added, continue cooking the caramel mixture until it reaches 238°F to 240°F on a candy thermometer. Be careful not to let it go higher than this, as that can make the caramels too chewy instead of soft. This should take another 15 minutes or so. Use an instant-read thermometer to double-check the temperature in the middle of the mixture to ensure accuracy.
Pour into the Pan:
- Once the caramels reach the correct temperature, immediately pour the mixture into the prepared pan. Let it cool completely.
Cool and Set:
- After the caramels are cool, place the pan in the freezer for 20-30 minutes or refrigerate for a few hours to help them hold their shape when cutting. They should not be frozen solid but should be firm enough to slice neatly.
Slice and Serve:
- Once set, cut the caramels into small pieces and enjoy! Optionally, you can wrap each piece in wax paper or pre-cut wrappers.
Notes
- Optional Flavor Add-ins: For an extra touch of flavor, you can scrape the seeds from a vanilla bean and add them to the caramel mixture when you add the sugar. You can also top the caramels with flaky sea salt for a delicious contrast.
-
Storage:
- Store the caramels in an airtight container or candy jar at room temperature or in the fridge. They will last several weeks if stored properly.
Recipe Tips
- Testing the Temperature: The most critical step in making these caramels is ensuring that the mixture reaches the right temperature of 238°F. Always check the temperature using both a candy thermometer and an instant-read thermometer, particularly checking the temperature in the middle of the mixture.
- Cookware: A stainless steel pot is ideal for making caramels because it helps achieve even heating and prevents burning, compared to using an enameled Dutch oven.

