Introduction:
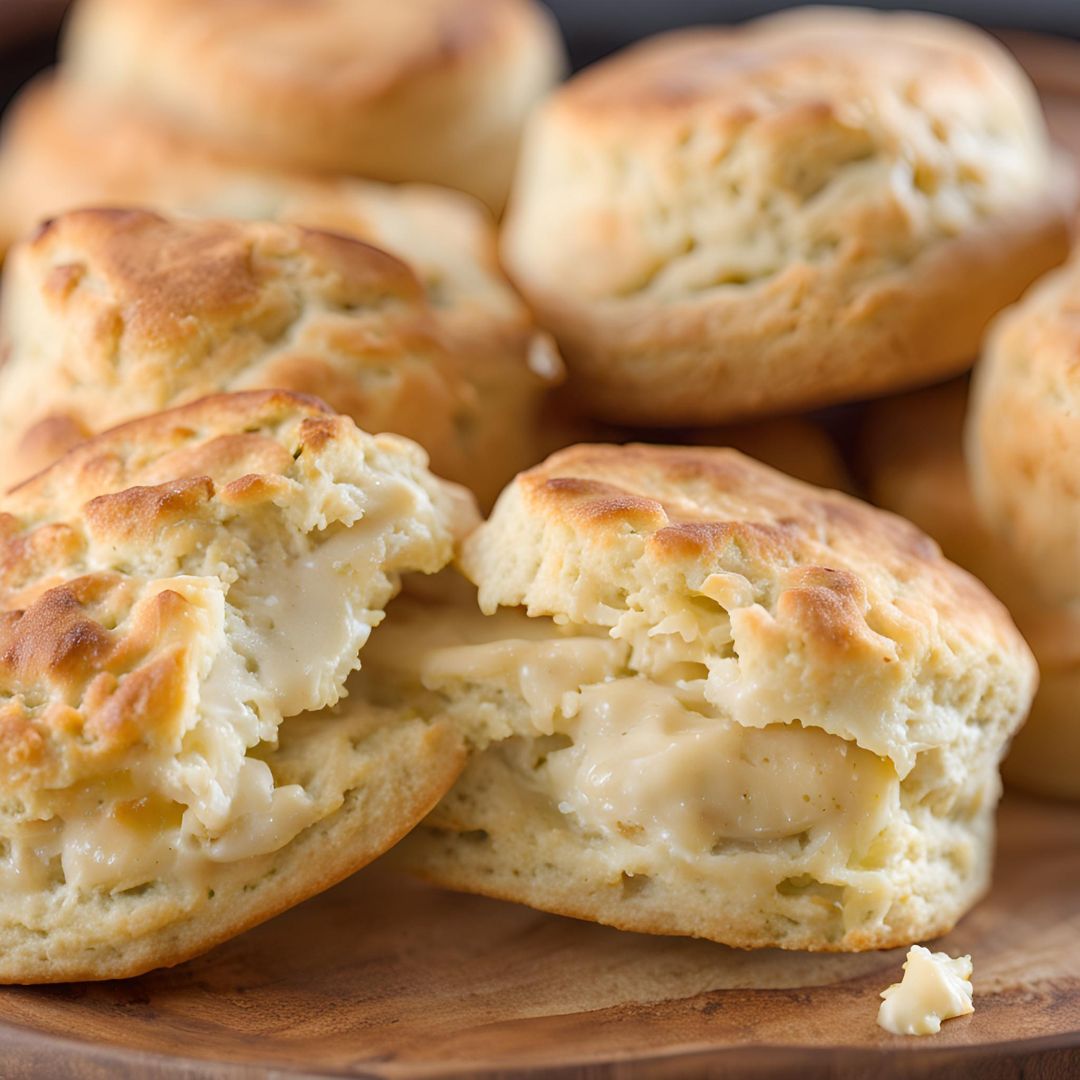
Buttermilk biscuits are a beloved classic in Southern cooking, cherished for their light, flaky texture and rich flavor. Whether enjoyed with butter and jam for breakfast or served alongside a hearty meal, these biscuits are incredibly versatile and easy to make. This recipe will guide you through the process of creating the perfect buttermilk biscuits that will elevate any meal.
Inspiration Behind the Recipe:
Originating in the American South, biscuits have been a staple in many households for generations. The use of buttermilk not only adds a delightful tang but also helps create the flaky layers that make biscuits so irresistible. These biscuits are perfect for holidays, family gatherings, or simply as a comforting addition to any meal.
Ingredients Breakdown:
- 2 cups all-purpose flour
- 1 tablespoon baking powder
- 1/2 teaspoon baking soda
- 1 teaspoon salt
- 1/4 cup unsalted butter (cold, cut into small pieces)
- 3/4 cup buttermilk (cold)
Step-by-Step Recipe:
- Preheat the Oven:
- Preheat your oven to 450°F (230°C). Line a baking sheet with parchment paper.
- Mix Dry Ingredients:
- In a large mixing bowl, whisk together the flour, baking powder, baking soda, and salt until well combined.
- Cut in the Butter:
- Add the cold, cubed butter to the flour mixture. Using a pastry cutter or your fingers, cut in the butter until the mixture resembles coarse crumbs.
- Add the Buttermilk:
- Make a well in the center of the mixture and pour in the cold buttermilk. Gently stir with a fork until just combined. Be careful not to overmix; the dough should be slightly sticky.
- Knead the Dough:
- Turn the dough out onto a floured surface. Gently fold the dough over onto itself 3-4 times, just until it comes together. Pat the dough into a rectangle about 1 inch thick.
- Cut Out Biscuits:
- Use a biscuit cutter or a round glass to cut out biscuits from the dough. Press straight down without twisting to help them rise properly. Place the biscuits on the prepared baking sheet, with the edges touching for softer sides or spaced apart for crispier edges.
- Bake the Biscuits:
- Bake in the preheated oven for 10-12 minutes or until the tops are golden brown.
- Serve Warm:
- Remove from the oven and brush the tops with melted butter if desired. Serve warm with your favorite toppings, such as butter, honey, or gravy.
Tips for the Perfect Buttermilk Biscuits:
- Keep Ingredients Cold: Cold butter and buttermilk help create flaky layers. Chill your mixing bowl if necessary.
- Don’t Overwork the Dough: Handle the dough as little as possible to keep the biscuits tender. Overmixing can lead to tough biscuits.
- Use Fresh Ingredients: Check the expiration date on your baking powder and baking soda for the best results.
Variations and Customizations:
- Cheddar Biscuits: Add 1 cup of shredded cheddar cheese to the dough for a cheesy twist.
- Herb Biscuits: Incorporate fresh herbs like rosemary or chives for added flavor.
- Sweet Biscuits: Add a couple of tablespoons of sugar for a hint of sweetness, perfect for serving with fruit preserves.
Health Considerations and Nutritional Value:
- Whole Grain Option: Substitute half of the all-purpose flour with whole wheat flour for a healthier version.
- Moderation is Key: While delicious, these biscuits are best enjoyed in moderation as part of a balanced diet.
FAQ:
- Can I make the dough ahead of time?
You can prepare the dough and refrigerate it for up to 24 hours before baking. Allow it to sit at room temperature for a few minutes before cutting out the biscuits. - How do I store leftovers?
Store any leftover biscuits in an airtight container at room temperature for up to 2 days. Reheat in the oven for the best texture. - Can I freeze biscuits?
Yes! Freeze unbaked biscuits on a baking sheet until solid, then transfer to a freezer bag. Bake from frozen, adding a couple of extra minutes to the baking time.
